
სხეულის გასაძლიერებელი ვარჯიში ქალებისთვის
Bodyweight training just might be the answer you've been looking for! It's a great way for anyone to build strength, and you can start where you're at right now. This is where it all begins!
Ladies, if you're interested in adding more strength training to your regimen but aren't sure about gym culture or weights, then calisthenics is the way to go.
Why? The most obvious reason, of course, is that you can train anywhere you want as opposed to having to navigate the gym. But that's just the start. Because calisthenics involves getting stronger by moving your own body, it also has plenty of carryover to modalities like yoga, pole dancing, and gymnastics. If you want to perform better at every other activity you do with your body, you'll no doubt find that a little extra strength will help.
A couple of decades back, people associated the word "calisthenics" with aerobics routines. Even today, a lot of people still think bodyweight training is only for sweaty AMRAP circuits. It doesn't have to be that way! Calisthenics comes from the Greek words kalos, meaning beautiful, and sthenos, which translates to strength. So make no mistake: You can get stronger with bodyweight training. Anyone who says you can't probably isn't doing it right.
Unleash this beautiful strength by learning how to master your own bodyweight, and you'll never need to add any outside resistance. The system of progressive calisthenics takes moves like push-ups, squats, bridges, leg raises, dips, and pull-ups and breaks them down into variations that even an absolute beginner can learn. As you get stronger at these basic exercises, you can eventually progress to more difficult variations.
There are infinite possibilities within these exercises that can keep you practicing for a lifetime, and I've provided a routine below to help you master each of them. Let's get started!
1. Incline Push-Ups And Full-ROM Push-Ups
Push-ups are probably the most underrated exercises for women. Unfortunately, they're also one of the most improperly practiced.
When I ask a new female client to try this movement, they usually place their hands too wide and high. As a result, when they descend, their elbows tend to flare out, their shoulders jut forward, and they only go down a few inches with each rep. Sure, they can bang out a lot of reps that way, but they're not getting as much benefit as they would from far fewer reps performed deeper and better. The only problem: Proper push-ups are far more difficult to perform. Just a couple of them might be a real struggle at first.
Not to worry—this is relatively easy to fix! If you're unable to perform a full-range-of-motion push-up on your toes with your elbows in, you can make the movement easier by practicing an incline push-up and placing your hands on an elevated surface like a bench or plyo box. By putting your hands on an elevated surface, you are distributing more of your weight into your feet, allowing your arms to assist for better leverage. As you get stronger, the idea is to steadily decrease the incline until your hands are on the ground for the classic push-up.
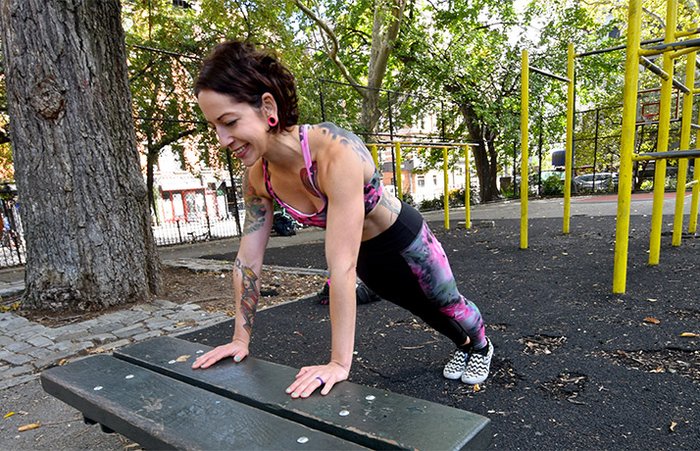
If you're unable to perform a full-range-of-motion push-up on your toes with your elbows in, you can make the movement easier by practicing an incline push-up and placing your hands on an elevated surface like a bench or plyo box.
In order to perform the incline push-up with good form, it's important to find proper hand placement. A good way to gauge this is to align the gap between your thumb and index finger with the crease in your armpit. Stand on your toes, and squeeze your legs together to engage your quads while contracting your glutes and abs. This will prevent any sagging in your hips.
As you descend, think about bringing your shoulder blades together at the bottom of the movement and spreading them apart as you press back up to the top position.
2. Pull-Ups And Australian Pull-Ups
Pull-ups are an intimidating exercise for most women, but I promise that when you work up to your first rep, it will be a real game-changer. Not only is being able to do a pull-up a phenomenal feat of strength for a woman to aspire to, it can also help change your body composition—particularly if you're eating a clean diet, too.
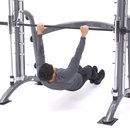
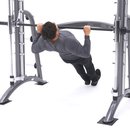
If you are unable to perform a proper pull-up yet, I suggest starting with the bodyweight row. These are also known as Australian pull-ups because you need to get "down under" the bar with your body in a horizontal plane. This makes the pull-up movement less challenging because you are using your feet as an assist. Also, having your body in a horizontal plane rather than in a vertical plane provides more favorable leverage.
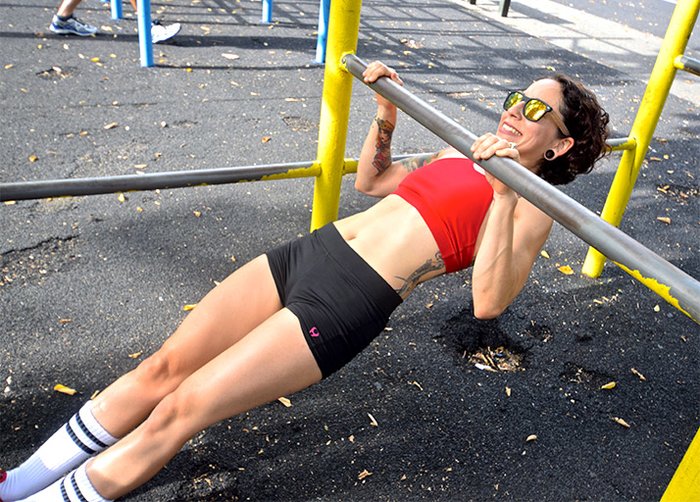
These are known as Australian pull-ups because you need to get "down under" the bar with your body in a horizontal plane.
But like regular pull-ups, these aren't nearly as easy as most people expect. The biggest problem most people make is letting their hips droop during the movement. After all, it's just an upper-body move, right? Wrong! Like most calisthenics moves, this is a whole-body movement!
Find a bar around hip height and get underneath it. Grab the bar with an overhand grip, and place your hands around shoulder-width apart. Extend your legs out straight, and balance on your heels. Squeeze your abs and glutes to maintain a neutral spine, and pull yourself toward the bar. You've completed a full rep when you can either pull your chest to the bar or at least break 90 degrees with your elbows. Focus on not bending at your hips as you lower back to the bottom position.
3. Dips
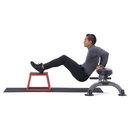
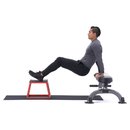
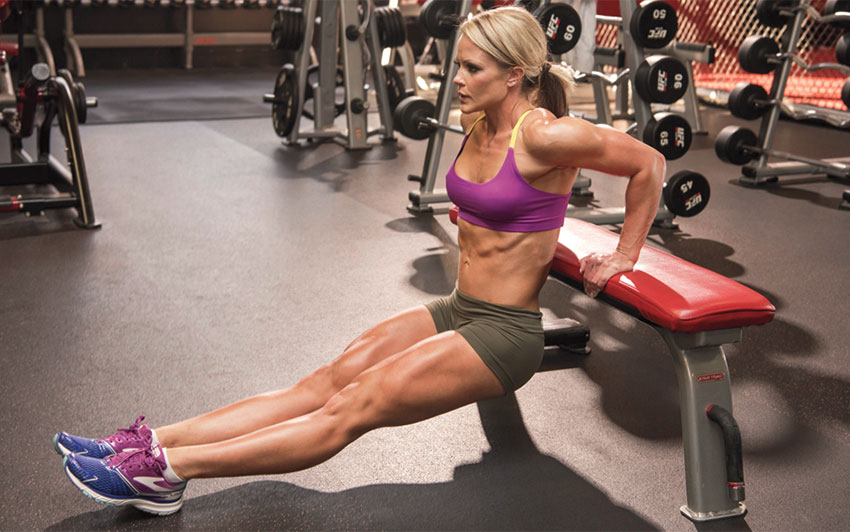
Dips are another fantastic bodyweight exercise for toning and strengthening your arms, particularly the triceps. Depending on your level of fitness, this exercise can be done in several different ways. The bench dip is a great place to start before you try parallel bars.

Depending on your level of fitness, this exercise can be done in several different ways. The bench dip is a great place to start before you try parallel bars.
Place your hands behind you on a bench, with fingers pointing toward you and legs extended forward. Be careful not to shrug your shoulders as you lower yourself toward the ground. At the bottom position, your arms should be in a 90-degree angle before pushing yourself back up to the starting position.
4. Squats
Too often, people train their lower body using a complicated routine where they travel from machine to machine for an hour or more. Meanwhile, everything they're looking for could be achieved by simply getting better at the squat! It's the most fundamental exercise you can do for your legs and butt, and everyone should practice it, plain and simple.
The legs and glutes are the primary movers in the body, and when you train your lower body right, it makes you stronger and faster. Get better at squatting, and you'll get better at moving, period. It's also great for improving your posture, back, hips, knees—you name it.

Get better at squatting, and you'll get better at moving, period.
Experienced yogis know the power of squatting. That's why malasana, the squat, is a fundamental part of so many yoga routines. But in my experience, nearly all of us—yogis included—can still benefit from some dedicated squat practice outside of class.
Even though squats are a lower-body exercise, they are still a total-body movement. Besides strengthening your glutes, hamstrings, and quads, working to stabilize your spine throughout the movement even works your abs! But as with the other movements here, many women feel like they need to start with more challenging variations like pistol squats. I recommend starting with the standard bodyweight squat and sticking with it until you can bust out smooth, controlled sets of 20 reps with ease.
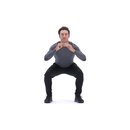
Start with your feet about hip-distance apart with your toes turned slightly out. As you lower yourself slowly to the bottom position, push your knees out to track your toes and sink in between your legs. Contract your abs as you lower in order to keep your spine straight. If it helps with your balance, extend your arms forward as you lower and then bring them back to your sides as you stand. Finish the rep by fully extending your hips at the top position.
5. Lying Knee Tucks
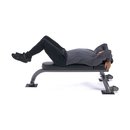
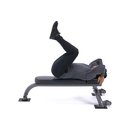
Abs are made on the floor! When these are executed with good form, they can really smoke your midsection. I prefer them to crunches or sit-ups because knee tucks involves less cranking of your neck and use your lower body to create resistance instead.
Begin by lying on your back with your knees tucked to your chest and arms at your sides. In order to practice this exercise with good form, start by eliminating the arch in your lower spine. Roll your pelvis backward so your low back makes contact with the ground, and maintain this position throughout the entire exercise. Slowly tense your abs as you extend your legs outward, then draw them back in toward your chest.
6. Bridges
Bridges balance out a well-rounded calisthenics regimen. Adding bridges to your routine is a great way to counter all the forward flexion you do on a daily basis, like sitting at a desk, in a car, or on a couch. The back bridge strengthens your entire posterior chain, including the erector spinae group, hamstrings, and adductors, while stretching the entire anterior chain of the body, too!
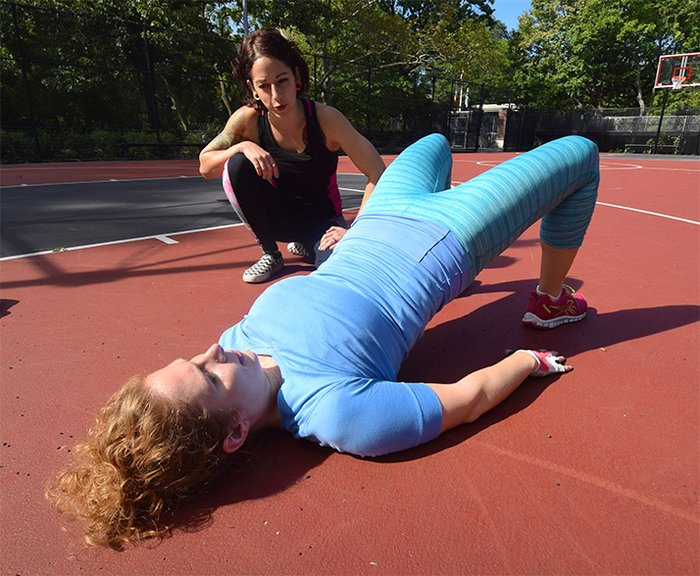
Adding bridges to your routine is a great way to counter all the forward flexion you do on a daily basis, like sitting at a desk, in a car, or on a couch.
The full back bridge is a great goal, but you don't need to jump right to that level to see benefits. Consider spending some time first with the hip bridge.
To perform these, start by lying on your back with arms extended at your sides and palms facing down. Bend your knees so your heels are close to your butt. Press into your hands and feet as you squeeze your glutes and extend your hips upward. At the top position, you should be balancing on your shoulders with your chin tucked into your chest. Lower to the bottom position and repeat.
Bodyweight Strength For Beginners
Here's a simple workout using these calisthenics exercises. Stick with it until you feel confident and graceful through every rep. No spazzing or struggling! This is all about building strength with quality reps.

